Looker Studio Visualization to show blog post's content

Introduction

In the digital age, many organizations possess a wealth of data through APIs. However, the challenge often lies in effectively visualizing this data. If you’ve been grappling with this issue, you’re not alone.

You have a rich dataset available via your API, but how do you make it visually meaningful in platforms like Looker Studio?

We’ve crafted a JSON to Looker Studio integration by developing a custom Looker Studio Connector with Google Apps Script. This solution fetches, processes, and elegantly brings your API JSON data into Looker Studio. 

For this demonstration, we’ll leverage the API from Hipolabs, which offers a comprehensive dataset of universities worldwide. 

Let’s get to it!

The code can be found on Github

If you prefer watching than reading, you can watch the entire tutorial here:

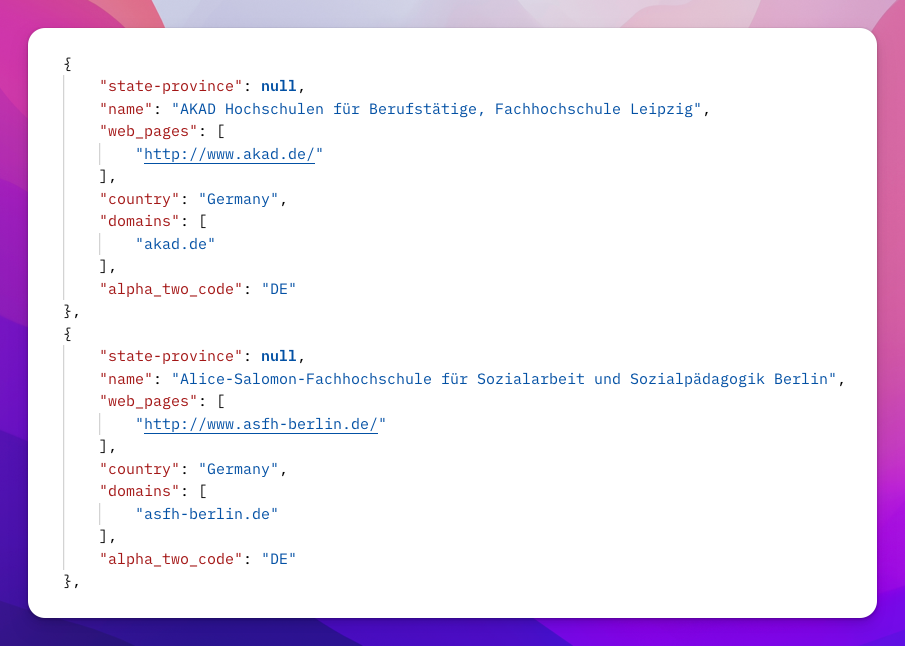
Overview of the JSON Data

We’ve chosen the Hipolabs API for this tutorial, which provides details on universities from around the globe. This includes information like the university’s name, country, and alpha two code. Creating a connector for this data allows us to visualize and analyze university data in Looker Studio effortlessly.

 A data snippet showcasing a JSON data structure. In this case, we are talking about university details like name, country, and alpha two code.

Creating a New Google Apps Script Project

To begin, we’ll need to create a new Google Apps Script project. This will serve as the foundation for our custom connector that will allow us to bring JSON data into Looker Studio.

  1. Navigate to the Google Apps Script dashboard.
  2. Click on the “+ New Project” button.
  3. Name your project appropriately, perhaps something like “LookerStudioConnector”.


Google Apps Script dashboard with the "New Project" button highlighted.

Editing the Manifest File

Every Google Apps Script project contains a hidden file known as the manifest file (appsscript.json). This file holds crucial metadata about the script, including which APIs it uses and how it interacts with other Google services. Before we dive into editing it, let’s first make it visible:

Please go to Project Settings (The Gear Icon on the left side of your screen) and click on “Show “appsscript.json” manifest file in editor”.

Now that the manifest file is visible, let’s delve into its significance for our custom connector.

For our connector, the manifest file will define its properties and how it will appear in Looker Studio. Here’s a snippet of what the manifest file might look like:

 A Closer Look at the Code 

Let’s delve deeper into the intricacies of our Google Apps Script code.

Initialization and Setting the Base URL


Here, we’re setting up our script by initializing the Community Connector, a crucial component for our integration. The BASE_URL is the endpoint from which we’ll be fetching our university data.

Defining the Data Schema

Our schema acts as a blueprint for the data we fetch. It ensures that the data aligns perfectly with Looker Studio’s requirements. Here’s a glimpse of how we’ve structured it:

Fetching the Data

The getData function is where the real magic happens. We fetch the JSON data, process it, and map it to our schema. Here’s a snippet that showcases how we construct the API URL based on user input and fetch the data:

Configuring User Input with getConfig()

One of the powerful features of building a custom connector is the ability to allow users to customize the data they fetch. The getConfig() function defines the configuration settings for the connector, including user input fields. It allows users to customize the data they fetch, making the integration of JSON data into Looker Studio more flexible.

Here, we’re initializing a configuration object using the getConfig() method of our communityConnector instance.

The newInfo() method creates an informational text field. This is particularly useful for providing instructions or context to the user. In our case, we’re guiding the user to enter a country name.

With newTextInput(), we’re defining a new text input field where users can specify the country they’re interested in. Several chained methods help configure this input:

  • setId(): Sets a unique identifier for the input field.
  • setName(): Provides a display name for the input.
  • setHelpText(): Offers additional guidance or information about the input.
  • setPlaceholder(): Sets a placeholder text to indicate expected input.
  • setAllowOverride(): Allows users to override the default or previously set value.

Finally, we build and return the configuration using the build() method. This ensures that when users interact with our connector in Looker Studio, they’ll be presented with our defined inputs, allowing for a tailored data-fetching experience. 

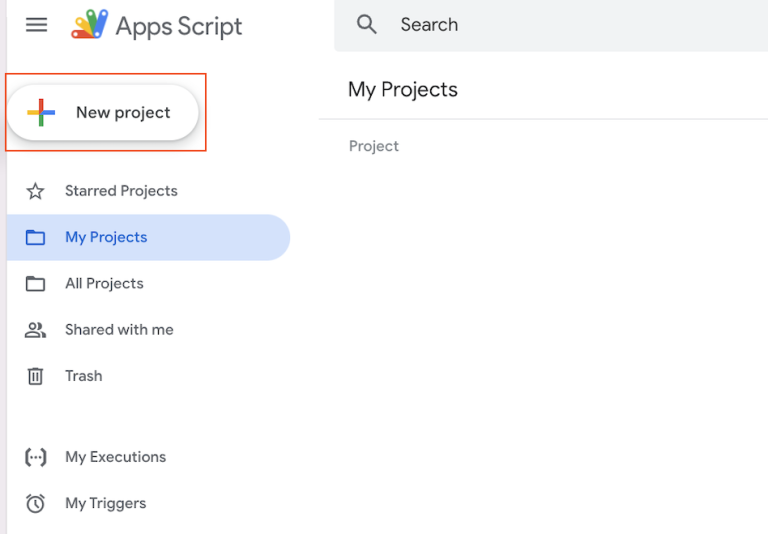
Deploying our Connector

Once our script is ready, the next step is to deploy it as a connector. But before doing so, we must first assign a Google Cloud Project to our Apps Script, which can be done in Project Settings
Our Looker Studio Project Settings showing how to assign a Google Cloud Project to a Google Apps Script Project
 Now, let’s deploy our connector! 

Our Connector is ready

Our Connector is now ready to be used within Looker Studio. 

Screenshot showing the page of our published connector for bringing JSON data into Looker Studio


Conclusion

Building a custom connector using Google Apps Script offers a flexible solution to bring  JSON data into Looker Studio. With this guide and the accompanying video tutorial, you’re well-equipped to integrate any API data into your Looker reports seamlessly.